-
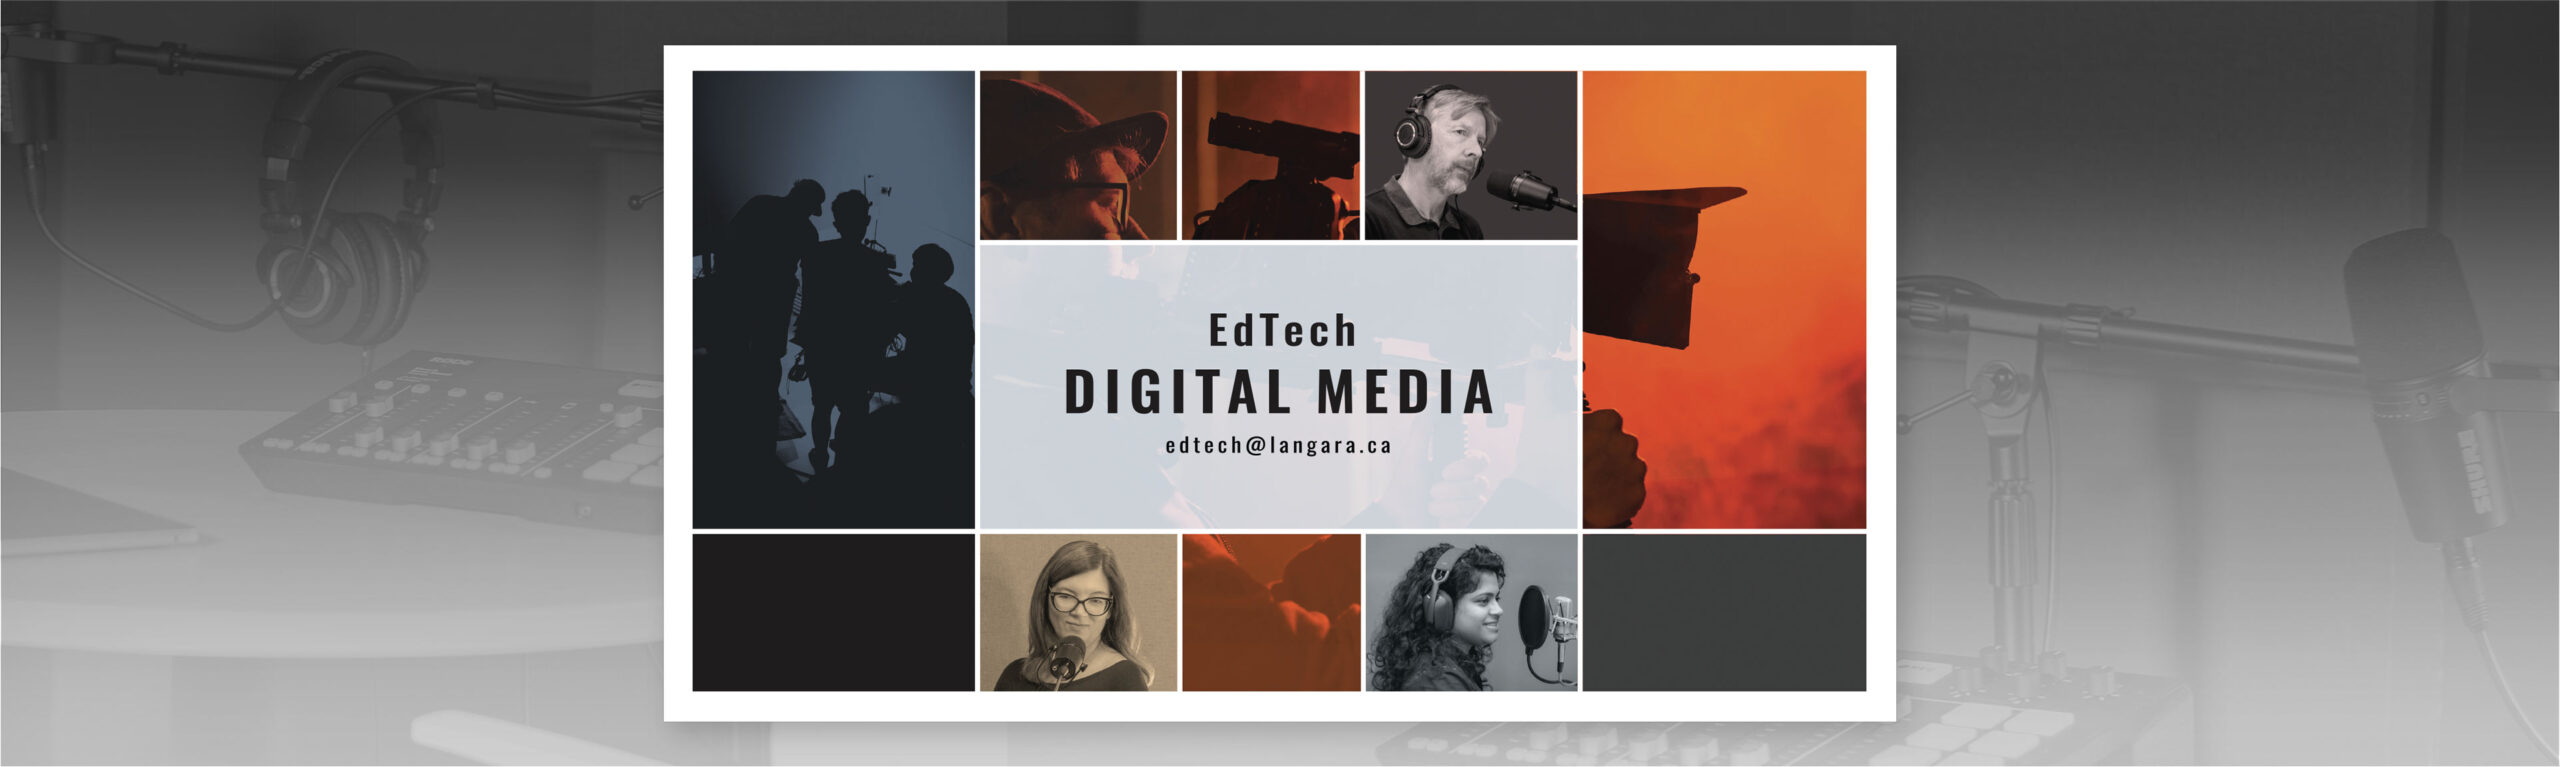
EdTech Digital Media Can Help You Create Engaging Content for Your Courses
Are you looking for ways to enhance your online teaching and learning experience? Do you want to create media-rich content that captures the attention and interest of your students? If so, you should check out EdTech’s Digital Media services at Langara College.
EdTech Digital Media provides support and resources for Langara faculty and instructional staff who want to translate their ideas into educational, professional, and engaging media content. Whether you want to do it yourself or get some expert help, EdTech Digital Media has something for you.
Here are some of the services that EdTech Digital Media offers:
- Studio: You can book the EdTech Digital Media studio, a professional space equipped with a green screen, a lightboard, a teleprompter, podcasting mixing desk and various cameras and microphones. You can use the studio to record lectures, presentations, interviews, demonstrations, and more. To book our studio, email us at edtech@langara.ca
- Audio & Video Production: Get assistance from the EdTech Digital Media team to produce high-quality audio and video content for your courses. The team can help you with scripting, storyboarding, filming, editing, and publishing your media projects.
- Digital Media Consultation: Before using our studio or other services we ask that you consult with one or more of our EdTech Digital Media team to discuss your media needs and goals. The team can provide you with advice, feedback, and recommendations on how to best use media in your courses. Email edtech@langara.ca to schedule a consultation.
- Drop-Ins: You can pop by the EdTech Digital Media studio during our scheduled drop-in times for a studio tour or to get quick help or tips on any media-related projects.
- Green Screen: Use our green screen technology to create immersive and interactive videos for your courses. You can replace the green background with any image or video of your choice, such as a map, a diagram, a historical scene, or a virtual environment.
- Lightboard: You can use our lightboard technology to create engaging and dynamic videos for your courses. You can write or draw on a transparent glass board with fluorescent markers, while facing the camera and your audience. The lightboard allows you to illustrate your concepts and ideas in a clear and captivating way.
- Motion Graphics: Take advantage of our expertise in motion graphics technology to create animated and eye-catching videos for your courses. You can use motion graphics to explain complex or abstract concepts, to visualize data or processes, or to add some fun and creativity to your media content.
- Podcasting: Use our podcasting setup to create audio-only content for your courses. You can use podcasting to share your insights, opinions, or stories, to interview guests or experts, or to provide supplementary or alternative material for your students. Come and talk to us with any ideas or questions you might have about this popular way to share content.
- Screen Capture: You can use screen capture technology (on your own or with our guidance) to create video tutorials, demonstrations or mini-lectures for your courses. You can use screen capture to show your students how to use software, a website, or an online tool, or to walk them through a problem or a solution.
- Slide Design: Work with our team to create effective, attractive and accessible slides for your courses.
If you are interested in any of these services, please visit the EdTech Digital Media page to learn more, to book a service, or to contact the team. EdTech Digital Media is here to support you and your media needs. We hope to see you soon!
Audio, Fun, How To, lightboard, llm, media, Podcasting, quality, screen capture, share, software, students, tips, VideoBack to top of page
-

The New Quiz Experience
Brightspace has released a New Quiz Creation Experience, a similar appearance to what you find in the Assignment tool. Over the coming weeks, we’ll highlight a couple changes that you should be aware of.
Changes to Timing & Display View
By default, no time limit is set on new quizzes. Use Time Limit to set the amount of time students are given to complete the quiz once they have started it.
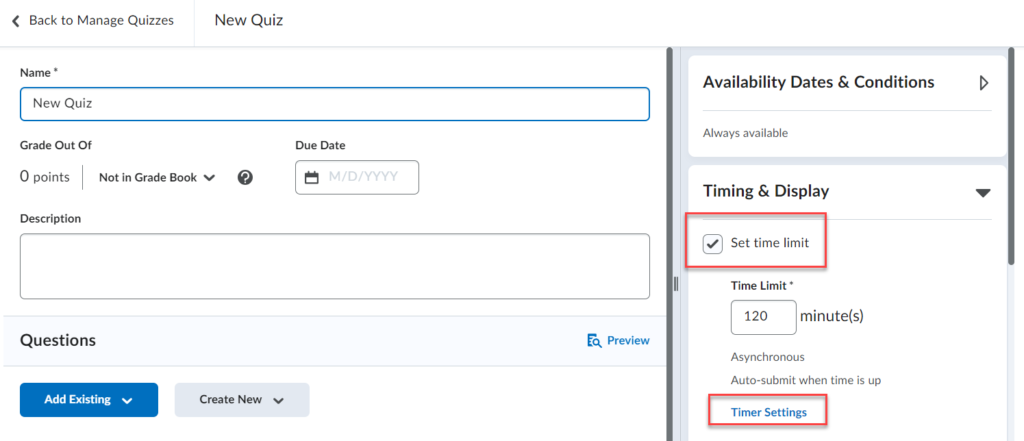
To set a time limit:
- Click Set Time Limit to add a countdown clock to the quiz. If this box is left unchecked, no time limit will be set. Be aware that setting a time limit does not, on its own, enforce the time limit — it only shows a countdown clock for the student.
Timer Settings
Timer settings are made once “Set Time Limit” is checked. Click on Timer Settings to control how a quiz behave once students exceed the time limit.

Timer setting options include:
- Automatically submit the quiz attempt
- This is the default on all new quizzes if the “Set Time Limit” box is checked. Quiz auto-submission automatically hands in quizzes on enforced time limit quizzes at the end of the set time.
- Flag as “exceeded time limit” and allow the learner to continue working
- This option allows the student to continue working but adds an “exceeded time limit” notation to the quiz when submitted.
- Do nothing: the time limit is not enforced
- The countdown clock is made available to students, but no time limit is enforced.
Old and New Experience Comparison
Previously Available Option New Behaviour Prevent the student from making further changes Automatically submit the quiz attempt Allow students to continue working but automatically score zero Automatically submit the quiz attempt Allow the student to continue working Flag the attempt as exceeded time limit and allow the learner to continue working A quiz that has a grace period Grace period no longer available. Quiz now uses only the time limit set Adding Time to a Quiz in Progress
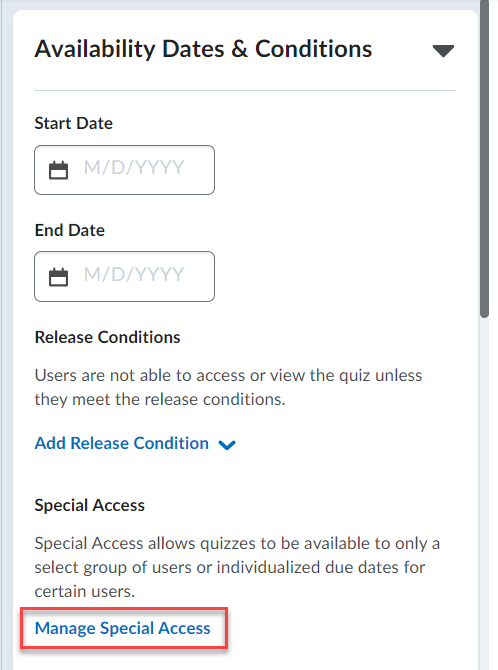
Changes to the timer may result in the need to add time to a Brightspace quiz in progress. Adding time is done through the Special Access feature and requires students refresh their browsers for the new time setting to take effect.
To add time to a Quiz in progress:
- Navigate to the Brightspace Manage Quizzes tab and click on the quiz name to edit.
- Select Availability Dates & Conditions.
- Click on the Manage Special Access link.
- Ensure “Allow selected users special access to this quiz” is selected.
- Click on Add Users to Special Access.
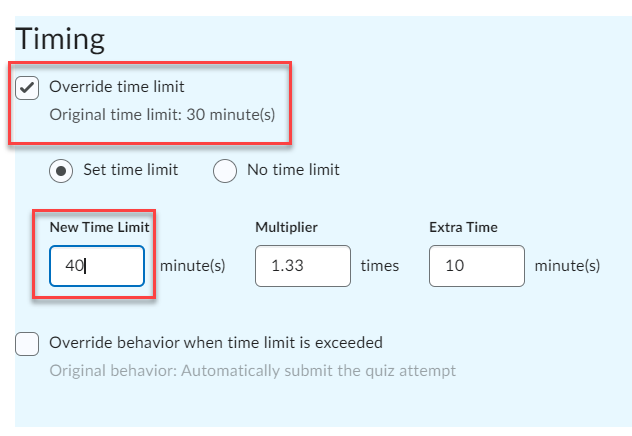
- Scroll down to the Timing sections and check the box for “Override time limit.”
- Enter the new time limit in the minutes field.
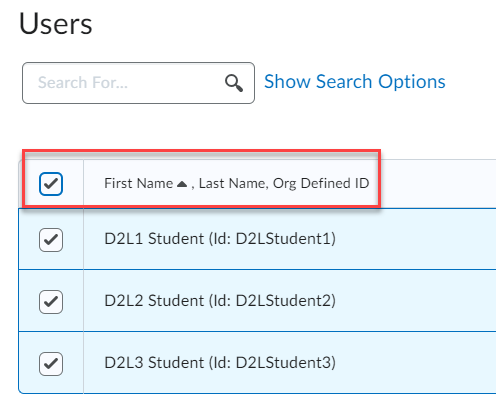
- Scroll down to the Users section and check all the students’ names.
- Click Save.
- Click Save and Close.
- Tell your students to refresh their browsers.
Watch Changes to the Brightspace Quiz Experience (video, 8:56) to learn more about the recent tool updates.
brightspace, Browsers, dates, learning tools, link, quiz, quizzes, students, Teaching & Learning Digest, VideoBack to top of page
-

Generative AI Tools & Privacy
Generative AI applications generate new content, such as text, images, videos, music, and other forms of media, based on user inputs. These systems learn from vast datasets containing millions of examples to recognize patterns and structures, without needing explicit programming for each task. This learning enables them to produce new content that mirrors the style and characteristics of the data they trained on.
AI-powered chatbots like ChatGPT can replicate human conversation. Specifically, ChatGPT is a sophisticated language model that understands and generates language by identifying patterns of word usage. It predicts the next words in a sequence, which proves useful for tasks ranging from writing emails and blogs to creating essays and programming code. Its adaptability to different writing and coding styles makes it a powerful and versatile tool. Major tech companies, such as Microsoft, are integrating ChatGPT into applications like MS Teams, Word, and PowerPoint, indicating a trend that other companies are likely to follow.
Despite their utility, these generative AI tools come with privacy risks for students. As these tools learn from the data they process, any personal information included in student assignments could be retained and used indefinitely. This poses several privacy issues: students may lose control over their personal data, face exposure to data breaches, and have their information used in ways they did not anticipate, especially when data is transferred across countries with varying privacy protections. To maintain privacy, it is crucial to handle student data transparently and with clear consent.
Detection tools like Turnitin now include features to identify content generated by AI, but these tools also collect and potentially store personal data for extended periods. While Turnitin has undergone privacy and risk evaluations, other emerging tools have not been similarly vetted, leaving their privacy implications unclear.
The ethical landscape of generative AI is complex, encompassing data bias concerns that can result in discriminatory outputs, and intellectual property issues, as these models often train on content without the original creators’ consent. Labour practices also present concerns: for example, OpenAI has faced criticism for the conditions of the workers it employs to filter out harmful content from its training data. Furthermore, the significant environmental impact of running large AI models, due to the energy required for training and data storage, raises sustainability questions. Users must stay well-informed and critical of AI platform outputs to ensure responsible and ethical use.
This article is part of a collaborative Data Privacy series by Langara’s Privacy Office and EdTech. If you have data privacy questions or would like to suggest a topic for the series, contact Joanne Rajotte (jrajotte@langara.ca), Manager of Records Management and Privacy, or Briana Fraser, Learning Technologist & Department Chair of EdTech
AI, artificial intelligence, Blogs, ChatGPT, Generative AI, Images, large language models, llm, media, powerpoint, privacy, students, Teaching & Learning Digest, turnitin, VideoBack to top of page