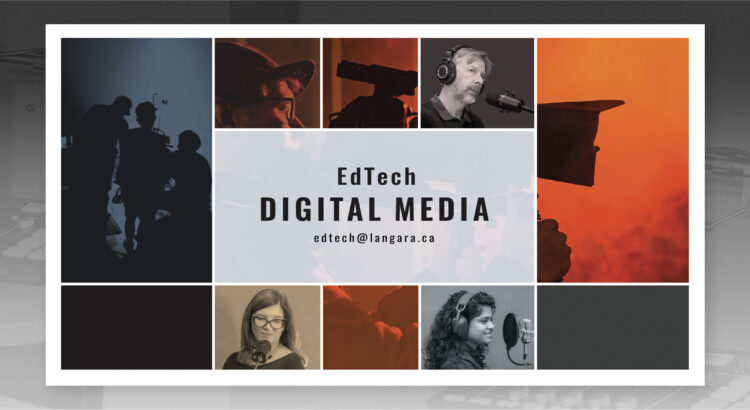
Are you looking for ways to enhance your online teaching and learning experience? Do you want to create media-rich content that captures the attention and interest of your students? If so, you should check out EdTech’s Digital Media services at Langara College.
EdTech Digital Media provides support and resources for Langara faculty and instructional staff who want to translate their ideas into educational, professional, and engaging media content. Whether you want to do it yourself or get some expert help, EdTech Digital Media has something for you.
Here are some of the services that EdTech Digital Media offers:
- Studio: You can book the EdTech Digital Media studio, a professional space equipped with a green screen, a lightboard, a teleprompter, podcasting mixing desk and various cameras and microphones. You can use the studio to record lectures, presentations, interviews, demonstrations, and more. To book our studio, email us at edtech@langara.ca
- Audio & Video Production: Get assistance from the EdTech Digital Media team to produce high-quality audio and video content for your courses. The team can help you with scripting, storyboarding, filming, editing, and publishing your media projects.
- Digital Media Consultation: Before using our studio or other services we ask that you consult with one or more of our EdTech Digital Media team to discuss your media needs and goals. The team can provide you with advice, feedback, and recommendations on how to best use media in your courses. Email edtech@langara.ca to schedule a consultation.
- Drop-Ins: You can pop by the EdTech Digital Media studio during our scheduled drop-in times for a studio tour or to get quick help or tips on any media-related projects.
- Green Screen: Use our green screen technology to create immersive and interactive videos for your courses. You can replace the green background with any image or video of your choice, such as a map, a diagram, a historical scene, or a virtual environment.
- Lightboard: You can use our lightboard technology to create engaging and dynamic videos for your courses. You can write or draw on a transparent glass board with fluorescent markers, while facing the camera and your audience. The lightboard allows you to illustrate your concepts and ideas in a clear and captivating way.
- Motion Graphics: Take advantage of our expertise in motion graphics technology to create animated and eye-catching videos for your courses. You can use motion graphics to explain complex or abstract concepts, to visualize data or processes, or to add some fun and creativity to your media content.
- Podcasting: Use our podcasting setup to create audio-only content for your courses. You can use podcasting to share your insights, opinions, or stories, to interview guests or experts, or to provide supplementary or alternative material for your students. Come and talk to us with any ideas or questions you might have about this popular way to share content.
- Screen Capture: You can use screen capture technology (on your own or with our guidance) to create video tutorials, demonstrations or mini-lectures for your courses. You can use screen capture to show your students how to use software, a website, or an online tool, or to walk them through a problem or a solution.
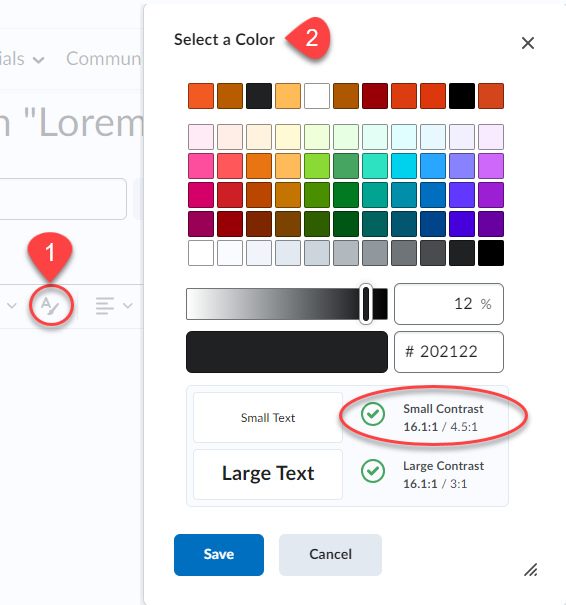
- Slide Design: Work with our team to create effective, attractive and accessible slides for your courses.
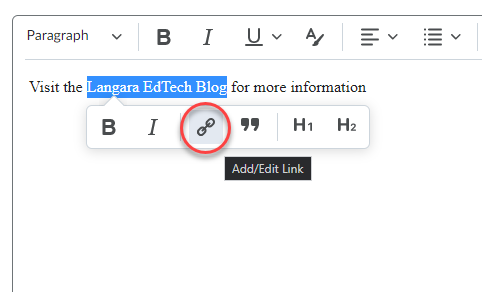
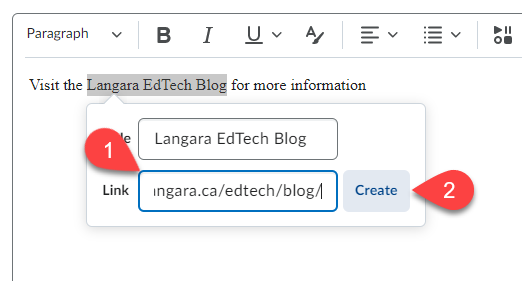
If you are interested in any of these services, please visit the EdTech Digital Media page to learn more, to book a service, or to contact the team. EdTech Digital Media is here to support you and your media needs. We hope to see you soon!
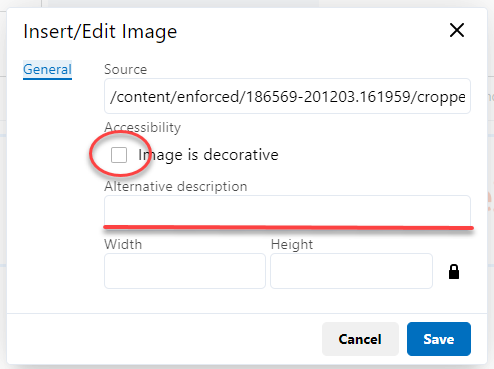
 Brightspace is an excellent tool to provide equitable, inclusive access to course content, documents, and media.