EdTech and TCDC are excited to announce the upcoming sessions of our Digital Media Creator (DMC) series, tailored specifically for both instructional and non-instructional staff. This enriching series of workshops is designed to immerse you in the world of digital media, helping you become proficient creators and users of engaging, multimodal content. The best part is that you don’t need to be good at art to join in; creativity is for everyone! By participating, you will not only enhance your teaching toolbox but also be in a better position to provide your students with diverse means of expression in their learning, a cornerstone of Universal Design for Learning (UDL).
What to Expect?
The DMC series begins with the foundational workshop, Create/Engage/Share: Introduction to Digital Media Creator (Module 1), scheduled for May 3, 2024, online via Zoom. This initial module sets the stage for exploring how digital media like images, audio, and video can transform the learning experience.
Following the introductory session, the series offers several modules, each focusing on a unique aspect of digital media creation:
- ePortfolios as Creative Practice (Module 2): Dive into ePortfolio creation using PebblePad, enhancing your professional development and showcasing your creative practice (May 7, 2024).
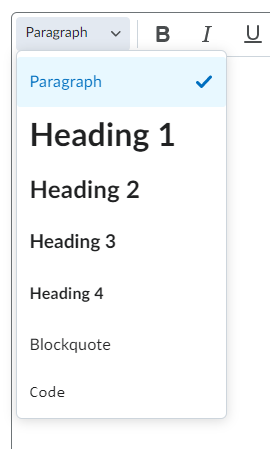
- Accessible and Effective Slide Design (Module 3): Learn to design compelling presentation slides that are not only visually engaging but also accessible and inclusive (May 16, 2024, Zoom).
- Sound Teaching (Module 4): Discover the art of podcasting to make your teaching content available to students anytime, anywhere (May 22, 2024).
- Create and Edit Video with Tools You Have at Hand (Module 5): Gain practical skills in video production using everyday technologies that we have access to (May 31, 2024).
- Prompting AI for Creative Output (Module 6): Explore the innovative realm of AI in generating creative content for various media (June 6, 2024).
To participate in these transformative workshops, registration for the Introduction to Digital Media Creator (Module 1) is a prerequisite. This requirement ensures that all participants have a solid foundation from which to explore more advanced topics. You can take as many or as few of the modules as you want after taking Module 1.
Earn a Digital Badge!
Completing at least four of the six modules earns you the DMC Digital Badge, evidence of your commitment and skill in digital media creation.
We invite all Langara instructors and staff to join these workshops. Let’s harness the power of digital media to create more engaging and inclusive educational experiences. Register today and spark your creativity with us!
Featured image generated with DALL-E as part of ChatGPT-4


 Brightspace is an excellent tool to provide equitable, inclusive access to course content, documents, and media.
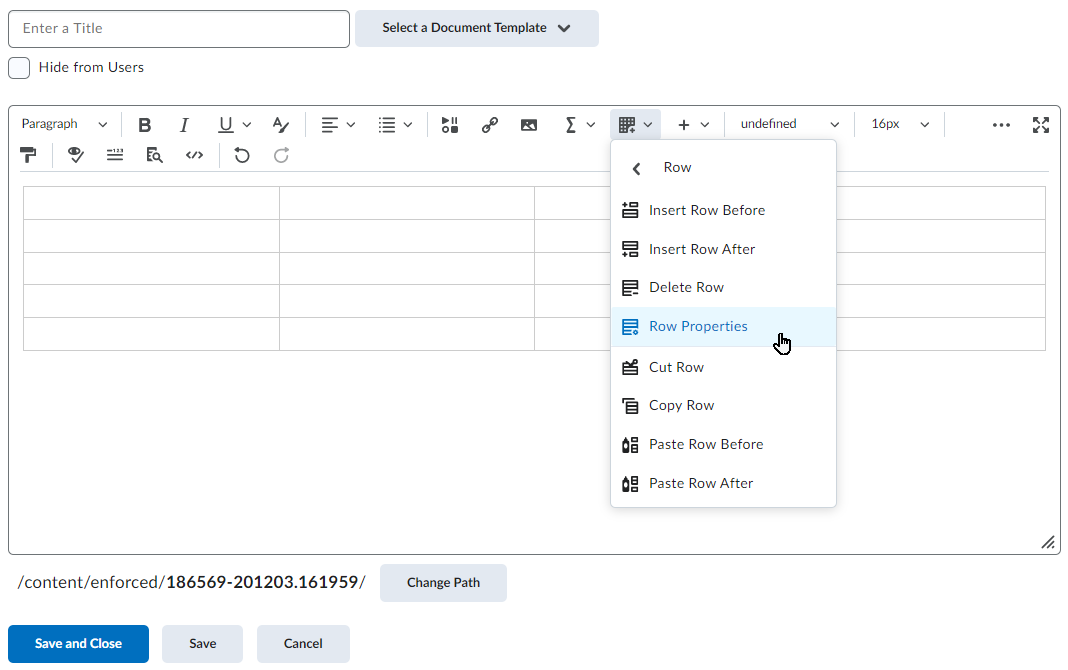

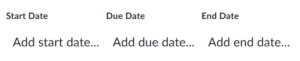
 Work To Do is an organizational widget, meaning that it appears on Langara’s Brightspace homepage and provides learners with a summary of assigned learning activities from all their courses that are overdue or have an upcoming due date or end date. Work To Do can also be added to a course homepage to show only due and overdue learning activities from the course.