Brightspace will automatically assign a banner image based on your course title, but you can also customize the image according to your course.
Changing the Course Banner Image
Brightspace has a large library of images available for your use as a course banner.
- On your course homepage, hover over the banner image and click on the “Banner Settings” ellipsis button
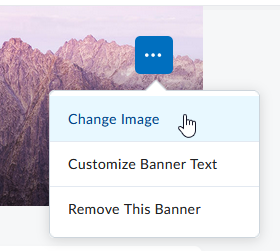
- Click Change Image
- Search by keyword to find an image you like, and select it
- Click Add to add the new image
Removing the Course Banner Image
There are multiple ways to remove the Course Image.
1. From Brightspace Home page:
- In Brightspace Home page, hover over the course whose image you want to remove.

- Select Course Offering Information
- Uncheck the box under Homepage Banner which says “Display the image in a banner on the course homepage.”

- Then hit Save.
2. From Course Homepage:
- Click on the Ellipsis icon on the course image, and select Remove this Banner.

- You will receive confirmation that the image is removed.

3. From Course Offering Information:
- Once inside your course, go to Course Admin on the navbar.
- Select Course Offering Information.

- Uncheck the box under Homepage Banner which says “Display the image in a banner on the course homepage.”

- Then hit Save.
Uploading Your Own Course Banner Image
- On your course homepage, hover over the banner image and click on the “Banner Settings” ellipsis button
- Click Change Image
- In the Change Image window, click the Upload button
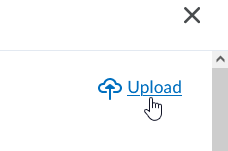
- Browse for your image: to fit within the space of the banner image, the dimensions should be 2400 x 960 pixels, and ideally contain no text
- Click Add to add the new image
