
Brightspace is an excellent tool to provide equitable, inclusive access to course content, documents, and media.
As you create content, take advantage of Brightspace’s built-in tools and the Accessibility Checker to ensure what you share is accessible. Accessible content is inclusive, democratic, and maximizes learner independence.
In the fourth of this five-part series, we will learn about tables.
Tables
Tables should only be used to present data, not for layout or formatting. Include a header row and/or column and avoid blank, split, and merged cells.
Use the Table tool to insert and modify tables:
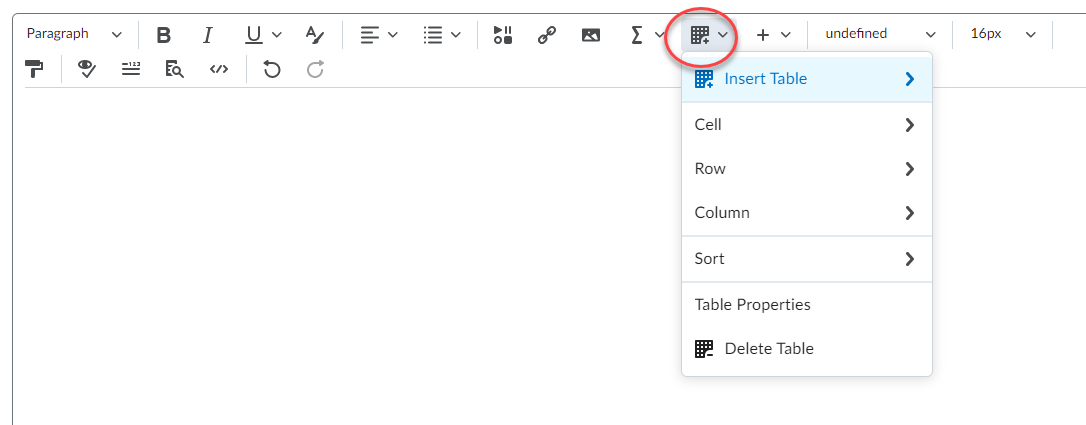
Use Table Properties for advanced settings such as style, padding, and formatting.
To set header rows:
- Select a cell in the row to be made a header
- Open the Table menu and choose Cell Properties
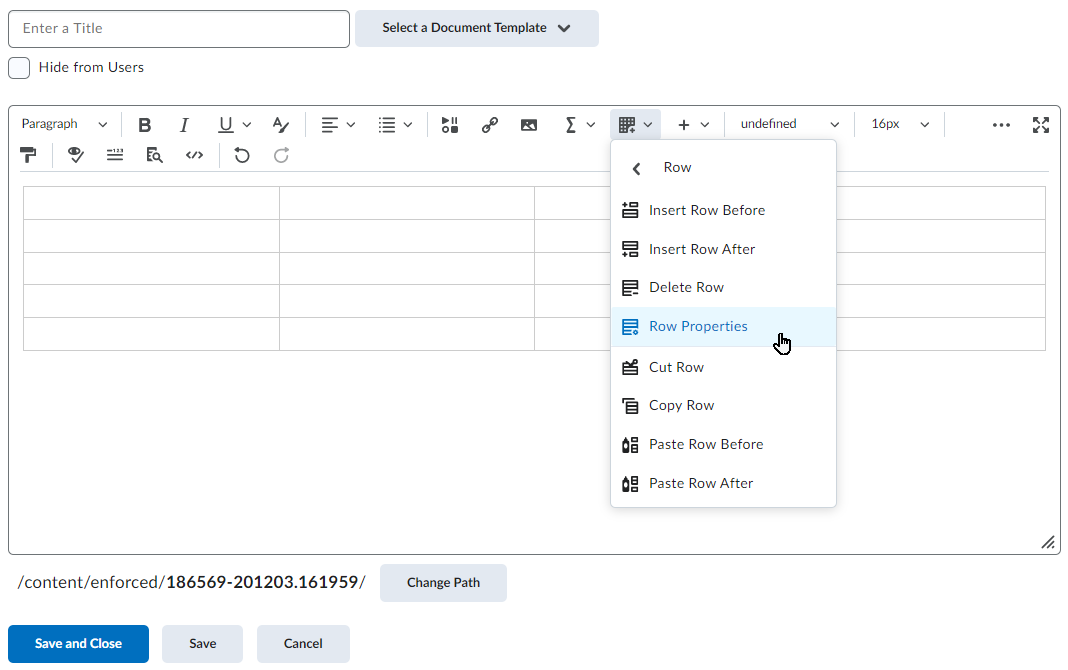
- Change Row type to Header and click Save

Do not add images of tables. If you must, ensure the image has alternative text that accurately conveys the table data.
Accessibility Checker
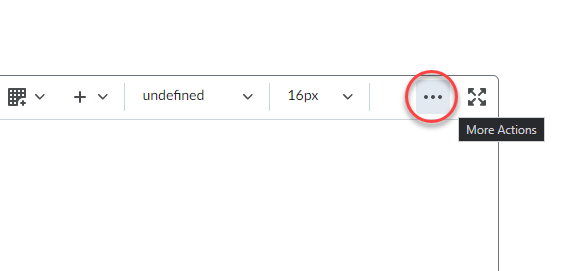
Brightspace includes a built-in accessibility checker. The checker appears on the second row of the editor toolbar.
- Select More Actions to reveal the second row of the toolbar
- Select Accessibility Checker
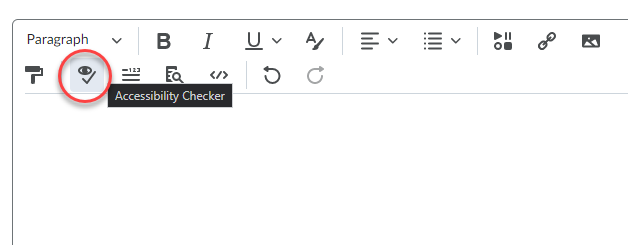
The accessibility checker will highlight many accessibility issues and offer solutions to correct them. For tables, the accessibility checker will flag tables without header rows or columns. The checker will also note tables without a caption and suggest users add a summary to long or complex tables.
Watch for more posts in the Brightspace Accessibility in Five series coming soon, including:
- Link Text
- Colour
- Headings
- Tables
- Text Equivalents
- Bonus: Accessible Uploads
