Learning Labs

Introducing Learning Labs

Learning Labs are interactive, focused, and supported learning sessions where you can learn how to implement Langara’s teaching and learning technologies and tools. Capacity is limited to ensure all attendees have an opportunity to ask questions, try out tools, and receive support. Support in the room will reflect the technology, tool, and learning outcomes; however, you can expect to interact with EdTech Advisors, Specialists, and Technologists as well as TCDC Curriculum Consultants. The Labs are an opportunity to implement something new or improve what already exists with experts who can answer technical questions and provide advice.

Fall Learning Lab session topics include:

Brightspace HTML Templates

After participating in this lab, participants should be able to:

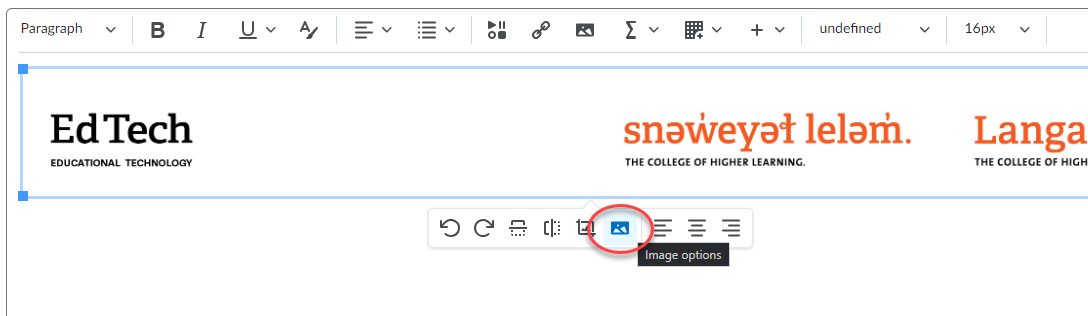
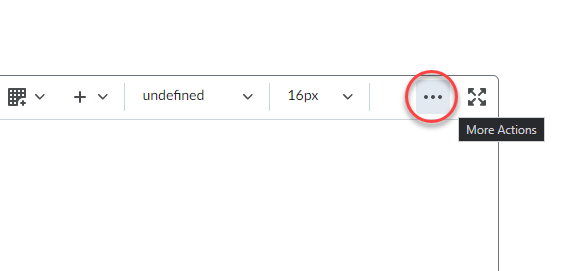
  • Use the Brightspace HTML editor.
  • Explain the benefits of using the Brightspace HTML templates.
  • Apply the templates to a new Brightspace HTML page.
  • Apply the latest version of the template to an existing Brightspace HTML page.
  • Mix and match HTML elements—such as image placement, accordions, callouts, tables, and tabs—from the various templates.

Adding closed captions to a video in Brightspace

After participating in this lab, participants should be able to:

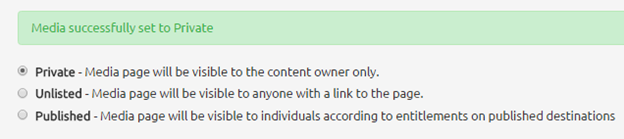
  • Upload a video to MediaSpace.
  • Add closed captions to a video.
  • Use the MediaSpace captions editor.
  • Use the OneDrive captioning tool.
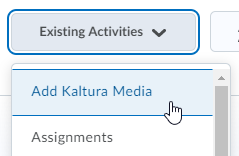
  • Embed a video in a Brightspace course file.

Creating an accessible Word document

After participating in this lab, participants should be able to:

  • Employ plain language.
  • Select styles that improve legibility of text.
  • Structure a document.
  • Create accessible hyperlinks and tables.
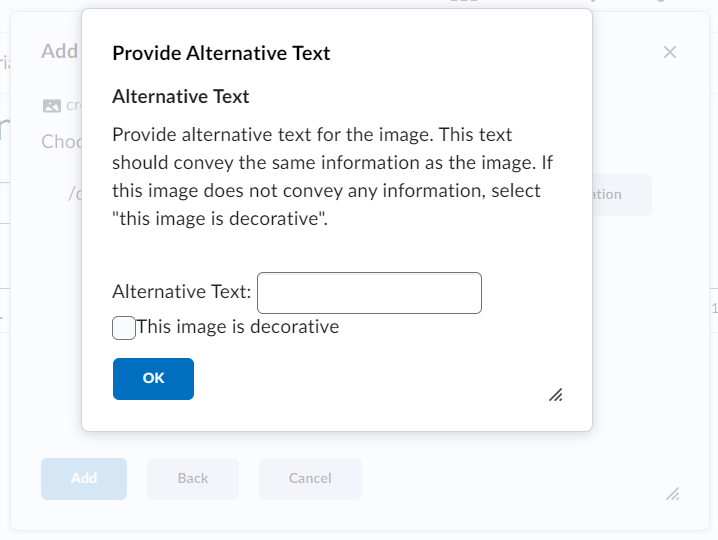
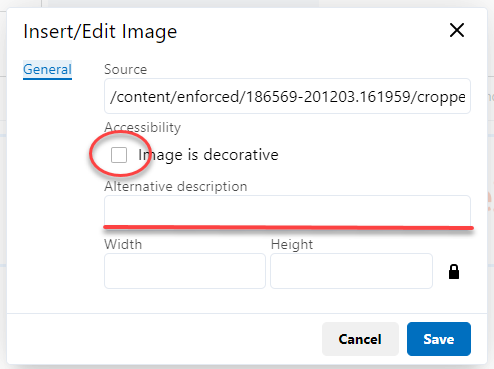
  • Add alternative text to visual content.
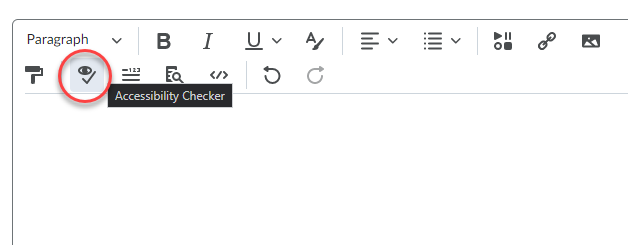
  • Use the built-in accessibility checker.

Improving the accessibility of existing PowerPoint slides

After participating in this lab, participants should be able to:

  • Avoid the most common PowerPoint accessibility mistakes.
  • Use the accessibility checker and make corrections.
  • Apply templates.
  • Apply structure.
  • Select accessible fonts and font styling.
  • Employ accessible use of colour.
  • Add alternative text to images.
  • Write meaningful hyperlink text.

Save time marking with Rubrics

After participating in this lab, participants should be able to: 

  • Define the purpose of the assignment or assessment 
  • Decide which type of rubric will be used with assignments
  • Create statements of expected performance at each level of the rubric 
  • Transfer analog rubrics into a digital version on Brightspace 
  • Associate their rubric with the assignment in Brightspace 


Brightspace Accessibility in Five, 5: Text Equivalents

Brightspace plus accessibility logo

Brightspace is an excellent tool to provide equitable, inclusive access to course content, documents, and media.

As you create content, take advantage of Brightspace’s built-in tools and the Accessibility Checker to ensure what you share is accessible. Accessible content is inclusive, democratic, and maximizes learner independence.

In the fifth of this five-part series, we will learn about text equivalents (alternative text and closed captions).

Alternative Text

Alternative text explains the content and context of an image to screen reader users. To write effective alternative text, consider how you would describe the graphic to a friend over the phone. Try to include all relevant information using proper grammar in less than 120 characters. Learn more in the Langara Accessibility Handbook alternative text chapter. 

Images may be marked as decorative if they are only included for visual effect or if the information in the image is also present in text adjacent to the graphic. 

When uploading a new image, Brightspace automatically prompts for alternative text. Enter a description in the Alternative Text field or check This image is decorative. Screenshot of Brightspace provide alternative text prompt

To add alternative text to existing images: 

  1. Select an existing image and choose Image options
  2. Check Image is decorative or enter a description in the Alternative description field.

Closed Captions

Captions provide a text equivalent of all audio elements in a video, presented visually in time with the video. Closed captions can be toggled on or off by the viewer. Open captions are ‘burned’ into the video and cannot be turned off.

Traditionally, we think of captions as an accommodation for viewers who cannot hear the audio in a video due to hearing loss. Statistics suggest 4-5% of the general population suffer some form of hearing loss. That number increases to around 20% for people over aged 60. However, 80% of 18 to 25-year-olds regularly use captions when watching video.

Captions are not just an accessibility essential, but also an excellent universal design for learning tool.

All new uploads to Kaltura (either in Brightspace My Media or Mediaspace) will have machine-generated captions automatically ordered. Videos added to OneDrive/SharePoint can have machine-generated captions ordered manually. Machine-generated captions are not accurate enough and must be edited. To learn more about captioning, read the Captions and Transcripts chapter of the Langara Accessibility Handbook.

Accessibility Checker

Brightspace includes a built-in accessibility checker. The checker appears on the second row of the editor toolbar.

  1. Select More Actions to reveal the second row of the toolbar
  2. Select Accessibility Checker

The accessibility checker will highlight many accessibility issues and offer solutions to correct them. However, the checker tool will not check videos for captions. This must be verified manually.


Check out the other posts in the Brightspace Accessibility in Five series:

  1. Link Text
  2. Colour
  3. Headings
  4. Tables
  5. Text Equivalents
  6. Bonus: Accessible Uploads

AccessAbility Week at Langara

AccessAbility Week, starting on Sunday, May 28, is an excellent opportunity to:

  • Acknowledge and celebrate individuals with disabilities.
  • Advance and emphasize the ongoing efforts to reduce barriers.
  • Reflect upon and acknowledge the progress made in fostering inclusivity and accessibility.

The goal of accessibility is to ensure that everyone can participate fully in their communities. Accessibility is not an accommodation. Accessibility is not about making space for any one person; it’s about building environments that are more inclusive and easier to access for anyone.

While accessibility is crucial for people with disabilities, efforts to reduce barriers benefit everyone. Barriers hinder people from being included, accessing information, and participating fully. Some examples of barriers are:

  • Doors without automatic openers.
  • Poorly lit rooms.
  • Inaccessible digital documents.
  • Websites that are hard to use.
  • Attitudes towards disabilities and accessibility.

Reducing barriers increases diversity, inclusion, and independence for everyone.

In EdTech, we are committed to developing resources that enhance accessibility across Langara’s digital environments. This includes promoting Brightspace best practices, improving captions in Kaltura MediaSpace, and creating resources to develop accessible content in Langara’s core technologies.

Explore our digital accessibility resources and email assistivetech@langara.ca to learn more.

In addition to AccessAbility Week, Global Accessibility Awareness Day (GAAD) occurs on May 18. Numerous GAAD events are scheduled, offering excellent opportunities to learn more about accessibility.

As an introduction to digital accessibility, consider this brief presentation:

Please contact assistivetech@langara.ca for more information.

Captions are now automatic on all new Kaltura media

New media content added to Kaltura MediaSpace will be automatically captioned, whether uploaded via the Langara MediaSpace website at https://mediaspace.langara.ca, or via My Tools > My Media in Brightspace. These captions are machine-generated and should be available within 30 minutes of uploading your file. All media, including screen recordings, file uploads, web recordings, and most YouTube imports, will have captions added when uploaded to Kaltura. These are closed captions that can be deactivated by the media owner and when available, toggled on and off by the viewer. Existing media—uploaded before October 18th, 2022—will not have captions automatically added but you can request captions for this media.

Keep in mind, machine-generated captions are only 85% accurate and will not meet the requirements of students with closed captioning accommodations. Students requiring an accommodation will contact Accessibility Services, who will inform you directly. If you have a student that requires closed captions, edit your captions to ensure they are 99% accurate or contact Langara’s Assistive Technologist to request assistance with human-edited closed captions. 

We developed a Closed Captions slideshow (below) to provide step-by-step instructions for all you need to know about captioning your media in Kaltura MediaSpace/My Media.

Ed Tech Sandbox Sessions

What is an Ed Tech sandbox?

Playground

The Ed Tech sandbox is a small, contained space to safely learn and practice using various educational technologies and tools. Participants may explore a specific tool or a range of tools that can be adopted to support a specific teaching or learning goal. To create a safe environment and allow time for practice, enrollment is limited to 10 participants.

Do you want to gain confidence with teaching & learning tools?

These weekly sessions are an opportunity to develop an understanding of how technologies and tools can be effectively used in teaching, learning, and assessment before introducing them in the classroom.

When are the sessions held?

Ed Tech sandbox sessions are planned for every Friday from 11:00 am – 12:30 pm. Participants choose whether to attend via Zoom or in-person.

Upcoming sessions

October 22nd – Kaltura Mediaspace and Capture

Kaltura Capture controls.

Using video in your course is a great way to engage students and present learning content in alternative ways, following the principles of UDL.

In this session we will demonstrate recording your screen, using the Kaltura Capture application to record your screen, and uploading the recording to Mediaspace. There will be lots of time to ask questions and play.

October 29th – Brightspace Rubrics Tool

""A Brightspace rubric can:

  • Be reused (they can be copied and used in multiple course shells).
  • Set out expectations and criteria for students.
  • Provide grading transparency and clear feedback.

Join us to learn how to associate rubrics with assignments, graded discussion topics and grade items.

Increasing accessibility of course content: How to create closed-captioned videos

Increasing accessibility of course content: How to create closed-captioned videos

What are closed captions?

Closed captions are a transcription of dialogue that is added to a video or digital presentation and, when turned on, appears as text on the bottom of the screen. The primary purpose of captions is to support people who are deaf or hard-of-hearing. However, captions have also been shown to support the learning of students who speak English as an additional language, students with learning disabilities, and students who are new to a discipline and may be unfamiliar with the jargon and unique terminology.

Share closed-captioned videos with students in four easy steps

Step one: Upload your video to Kaltura MediaSpace

Before you can add closed captions to a video you will need to upload it to your MediaSpace library. If you are unfamiliar with uploading videos, click through the steps below. If you have experience with MediaSpace, skip ahead to find out how to add closed captions.

Step two: Add and edit closed captions in Kaltura MediaSpace

The following video will walk you through the steps of ordering and editing machine-generated closed captions in MediaSpace.

Direct video link: Kaltura MediaSpace: Adding closed captions

Step three: Publish your video in Kaltura MediaSpace

Newly uploaded media is set to Private by default so after adding closed captions, you will need to publish your video.

Setting a video to Unlisted allows you to share your video with students but makes it unsearchable. Setting a video to Published allows you to share your video or make it available in a Channel or playlist.

""Save the changes, and then Click Go To Media to view the video, or Go To My Media to see the video in your MyMedia library.

Step four: Share your video with your students in Brightspace

You are now ready to share your closed-captioned video with students.  In Brightspace, you can insert Kaltura videos anywhere you find the HTML Editor.

New Ed Tech Online Course Assistance Program

Have you heard about Ed Tech’s Online Course Assistants (OCA) pilot program? We have hired and trained three Co-op students who can provide online course support for your department or individual instructors.

Our Co-op students are all hard-working and detail-oriented, with strong technical skills.  They have had specific training on BrightSpace, Kaltura Capture, and Adobe Acrobat, in addition to the technical skills they acquired prior to joining Ed Tech, such as video editing.  They are very keen to take some of the non-teaching and non-marking work off your plate, including helping to get test banks into Brightspace for Fall final exams, and helping you prep your Spring 2021 courses.

Through the OCA pilot program, the OCAs can:

  • help you to organize and populate your courses, making sure there is a consistent look and feel to everything;
  • ensure course links are working, or add in new links;
  • organize your modules and submodules so that students find it easier to navigate the course, with the likelihood that you’ll have less student confusion and fewer inquiries to deal with;
  • turn your printed handouts into interactive PDF fillable files that students can type in and upload to assignment folders – no scanners needed;
  • edit your videos, such as breaking them into chapters and adding titles;
  • assist you with other functions as appropriate.

All we need is content, such as Word or PDF documents or your exam in a Word format and we’ll work with the Online Course Assistants (OCAs) to upload this content to your course. In most situations the OCAs will work in a course that isn’t live, thus protecting your students’ data. If they must work in a live course, they will sign a non-disclosure form.

Taking advantage of the OCA program may help you enjoy your winter break more. Please contact us edtech@langara.ca  to find out more about how we can help.

Who are the OCAs?

Picture of Fredrick Chen

Frederick Chen

Frederick is a 4th year BBA Marketing Management Student. He has worked in technology sales, acquiring advanced knowledge of productivity software and file transfer support, as well as developing excellent customer service skills.  He has advanced Excel skills, as well as experience course building in BrightSpace, and making Adobe fillable files. Frederick is excited about this opportunity to provide support for instructors in their transition to an online teaching environment.

Picture of Michael Cui

Michael Cui

Mike is a 4th year BBA Student. Mike is detail-oriented and highly committed to excellence in project execution.  Well-versed with educational technologies like Brightspace, Kaltura, and Zoom, he also has excellent skills converting handouts into fillable PDF documents. He looks forward to helping relieve some of the pressure instructors are experiencing because of the transition to online course delivery.

Photo of Lily Tran

Lily Tran

Lily is a 4th year accounting student who is proficient in Microsoft Office, BrightSpace, WordPress, and Sage 50, as well as video editing. She has 3 years’ experience as a Langara accounting marker, a position that has honed her attention to detail. She looks forward to helping instructors save time and create a better distant learning experience.

Video Introduction to the OCAs

Video Showcasing OCA Skills

General Guidelines for using Zoom

Zoom is a modern web-based video communication platform that can be used to introduce a synchronous (real-time) element to online teaching and learning. For example an instructor could use Zoom to conduct online office hours or use the breakout rooms functionality for student group-work.

It takes commitment from all participants in a Zoom session — instructors and students — to develop and maintain a positive learning environment. Everyone is responsible for creating a safe and inclusive collaboration space when using Zoom and is expected to behave in a manner that is professional and ethical.

Before Using Zoom

For resources on using Zoom, visit Langara’s Zoom landing page to learn more about the functionality and use of this platform.

Ensure Zoom is accessible to the students in your classes. Synchronous learning tools often present unique challenges to students including whether they have access to devices with webcams, caps on data, internet speed and stability, finding a quiet place to participate, and the challenge of studying in different time zones. If in doubt consider using pre-recorded video instead.

If you are recording synchronous Zoom sessions, students need to be notified. Zoom recordings are to be used to support student learning only and should not be shared or used for any other purpose. Ask students to turn off their webcam and identify themselves using a first name only. If you upload the recording to Kaltura Mediaspace for sharing, make sure you delete the recording from your personal computer.

Setting up Zoom Sessions

There are a number of recommendations below on how to use Zoom effectively in teaching and learning to increase the safety and security of the learning environment.

  • Set up a password for all Zoom sessions as an added layer of security.
  • Enable the “mute upon entry” feature for your classroom participants
  • Control the chat function and disable private chats. Chats are retained if a session is recorded, and may be accessible under the Freedom of Information and Protection of Privacy Act
  • If possible, set up a co-host to help during Zoom sessions. This could be a colleague,  teaching assistant or other responsible student that can assist you to host the session. Co-hosts can help manage the chat function, set up break out rooms, and help manage the learning environment.
  • If practical, you can enable the “Waiting Room” feature – one of the most secure ways to allow only those invited to the session to attend.
  • The default screen-sharing option for educational accounts is “Host Only” – this allows only instructors to share their screen, unless they change it. If you want others to share their screen content, you can invite them during the session to do so, or via settings beforehand. See here for information on screen sharing.

Adapted from University of Calgary Guidelines for Zoom

This content is available under a Creative Commons Attribution 4.0 International License.