Langara has a limited number of logins per month for ScreenPal. If you log in from your home or office computer, you can use ScreenPal an unlimited number of times in a given calendar month. Licenses renew at the start of each month. To acquire the password, contact EdTech.
ScreenPal Setup on Windows
Note: You only need to follow this process the first time you use ScreenPal on this computer. Next time, you can simply launch ScreenPal from your computer like any other application, unless the password has been changed, in which case you can simply launch the recorder at step 3 to open the desktop app.
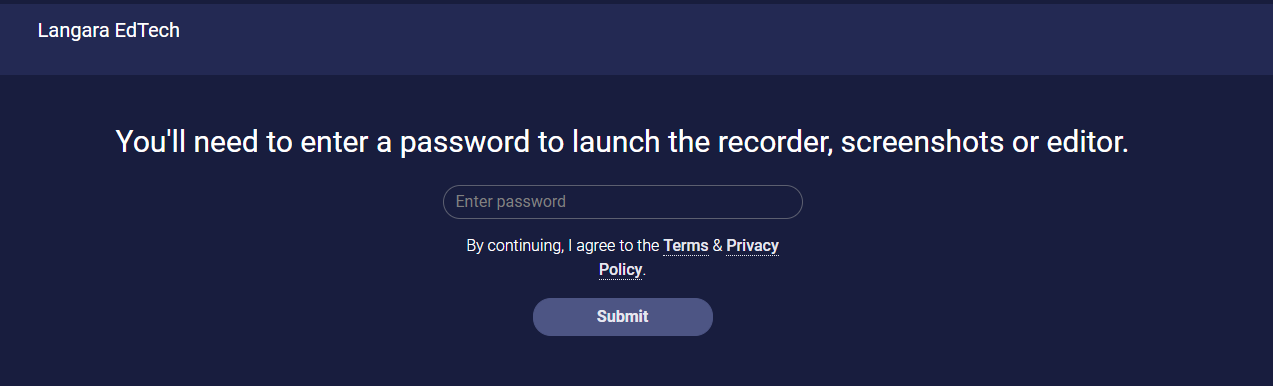
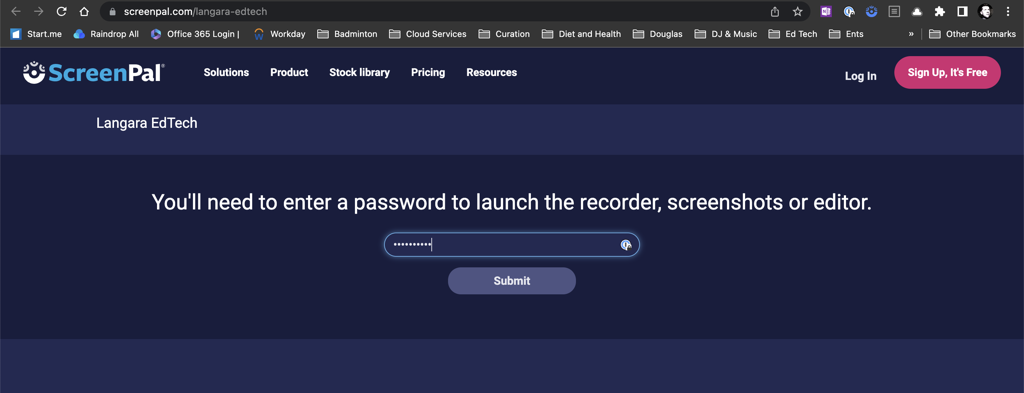
- Go to: https://screenpal.com/langara-edtech
- Enter the password given to you by EdTech and click Submit
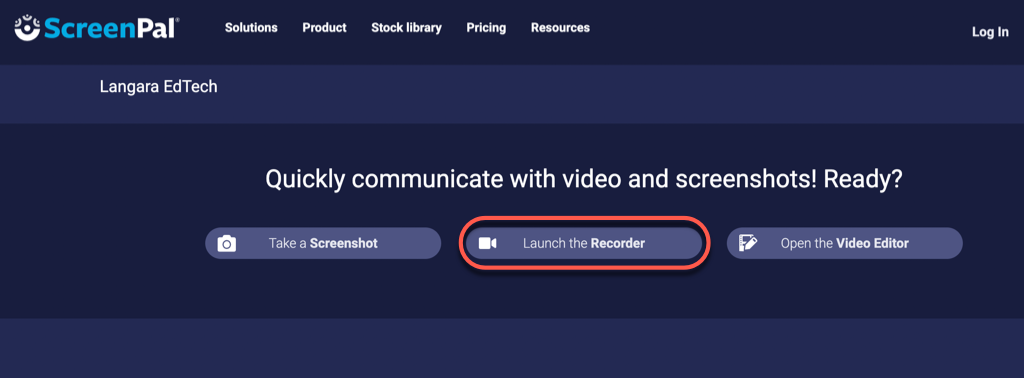
- Click the Launch the Recorder button

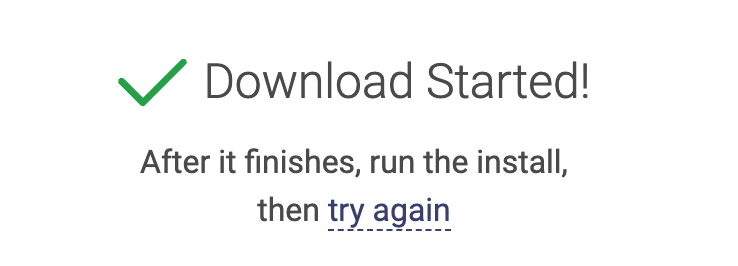
- A “Launching” message will appear at the bottom of the browser window
- If a window appears asking you to allow the browser to launch the web recorder, ignore it or click Cancel
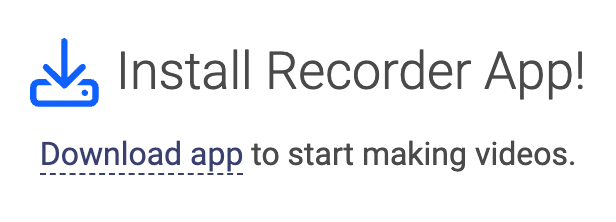
- When the “Download if nothing prompts from browser” message appears at the bottom of the browser window appears, click the Download link
- Open the downloaded file
- A pop-up window will appear – follow the prompts to complete the installation
- You should be automatically logged in with the Team Education license upon opening the application
To begin recording, move to the Recording Your Screen section below.
Back to top of pageScreenPal Setup on MacOS
Note: You only need to follow this process the first time you use ScreenPal on this computer. Next time, you can simply launch ScreenPal from your computer like any other application, unless the password has been changed, in which case you can simply launch the recorder at step 3 to launch the desktop app.
- Go to: https://screenpal.com/langara-edtech
- Enter the password given to you by EdTech and click Submit
- Click the Launch the Recorder button
- Click the Download app link
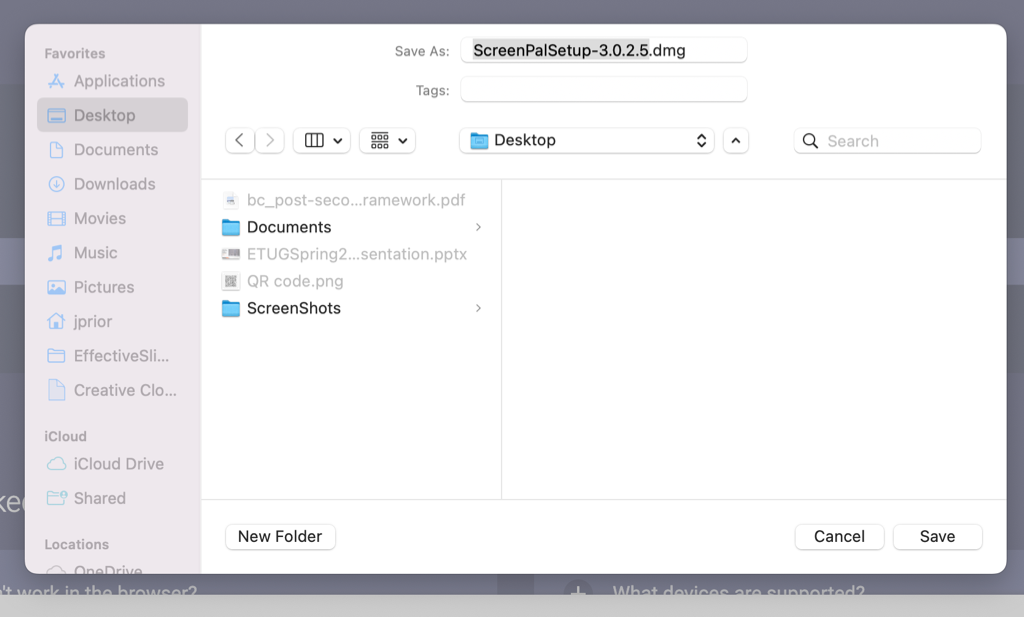
- You may be prompted to save the installer file to a suitable location; otherwise, the file will be saved in your Downloads folder.
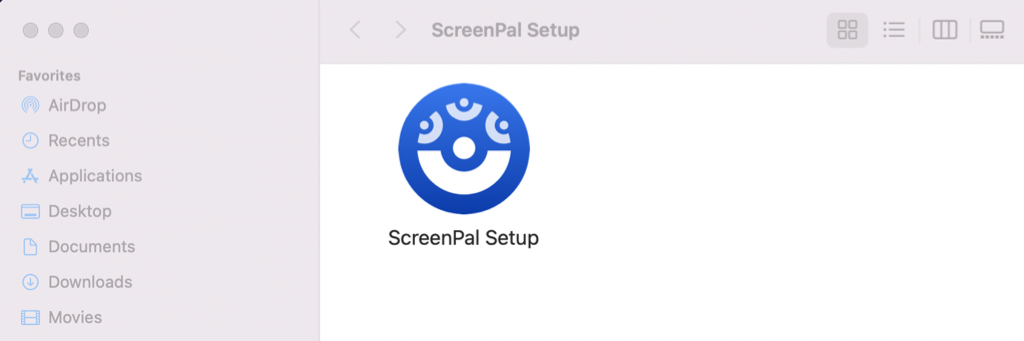
- Double-click on the Installer.
- Double-click on the ScreenPal Setup App from the location you saved to in Step 5 above.
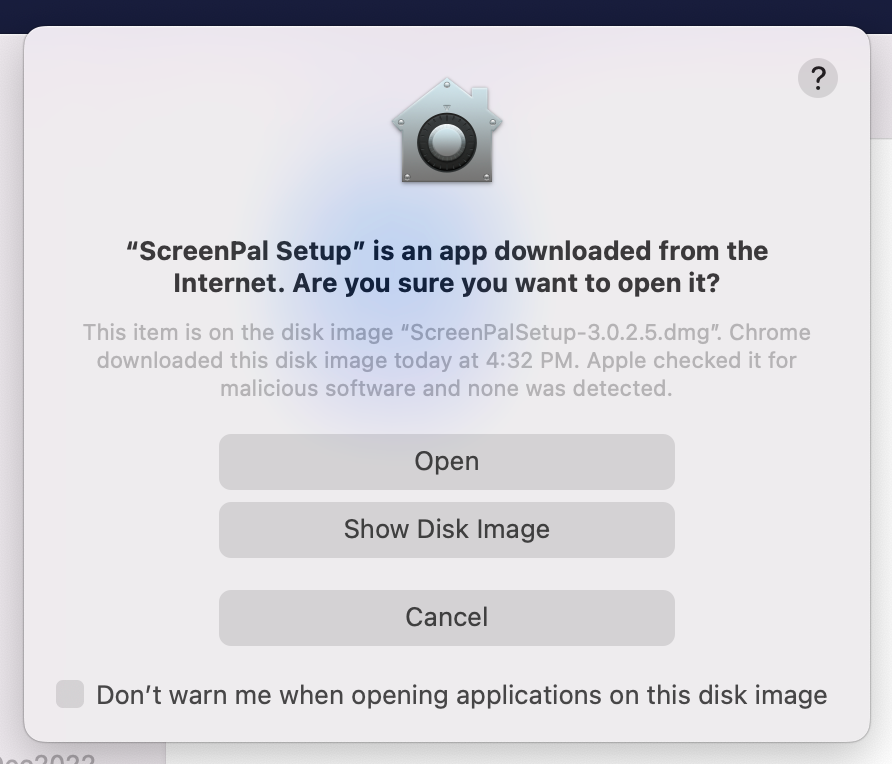
- You may get a message saying ScreenPal is an app downloaded from the Internet. Are you sure you want to open it? Click Open.
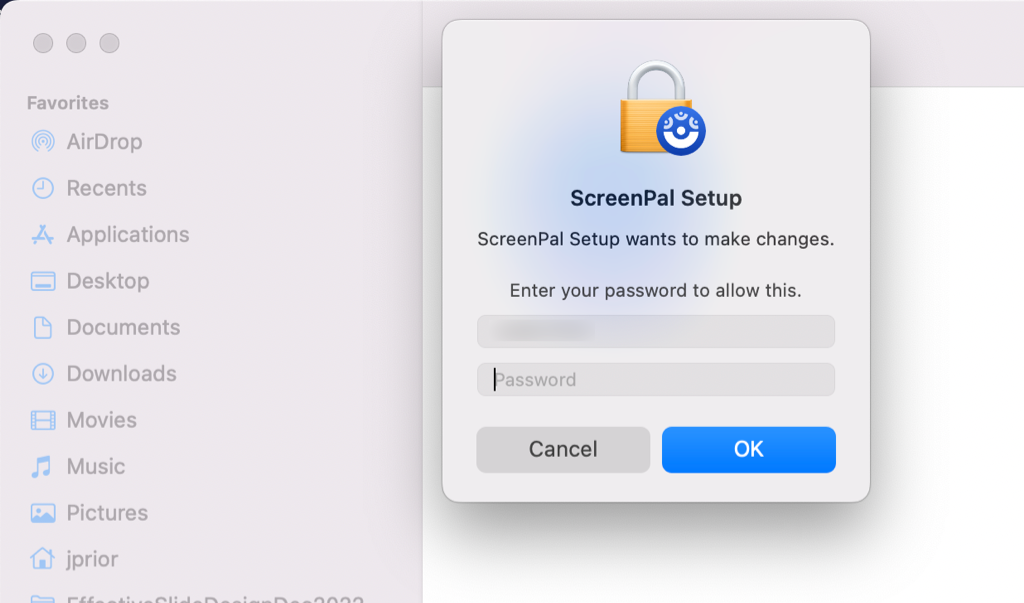
- You may get a pop-up window saying ScreenPal Setup wants to make changes. Enter your device password and click Ok.
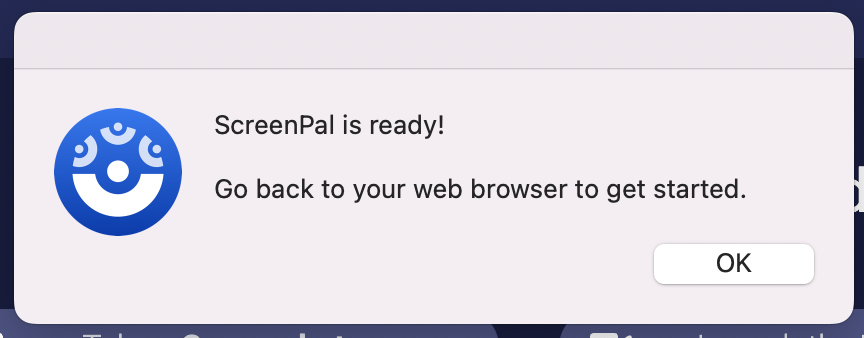
- You should get a pop-up window that says ScreenPal is Ready! Go back to your web browser to get started. Click Ok and return to your web browser.
- Click on Launch Recorder again (see Step 3).
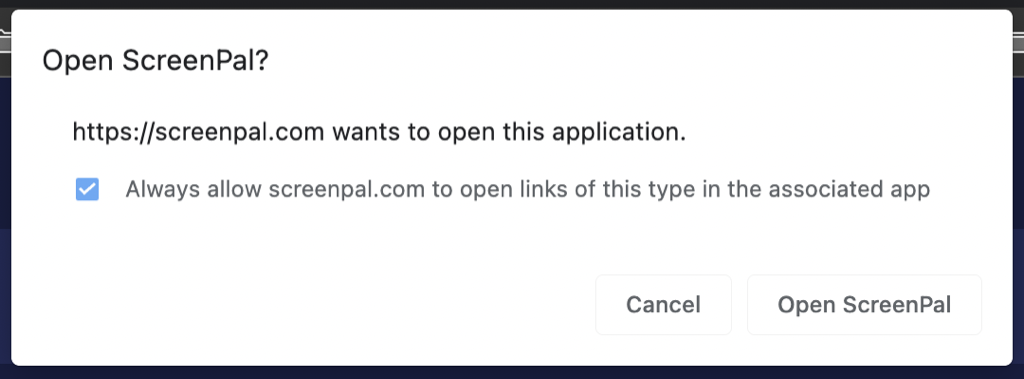
- You may get a message saying https://screenpal.com wants to open this application. Tick the checkbox which says “Always allow screenpal.com to open links of this type in the associated app.” Click Open ScreenPal.
- You may get a Progress bar that says “Updating…“

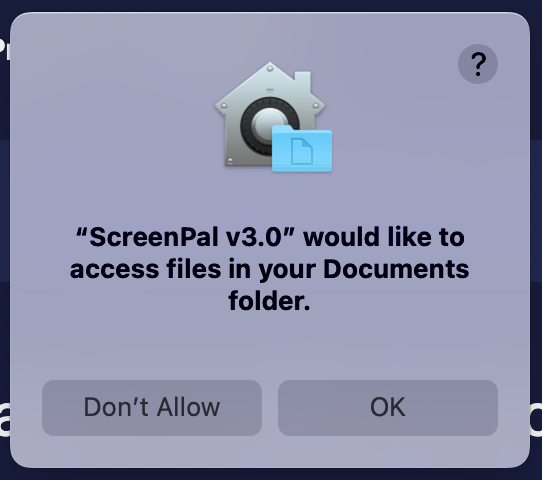
- When complete you may get a message saying “ScreenPal v3.0″ would like to access files in your Documents folder. Click OK.
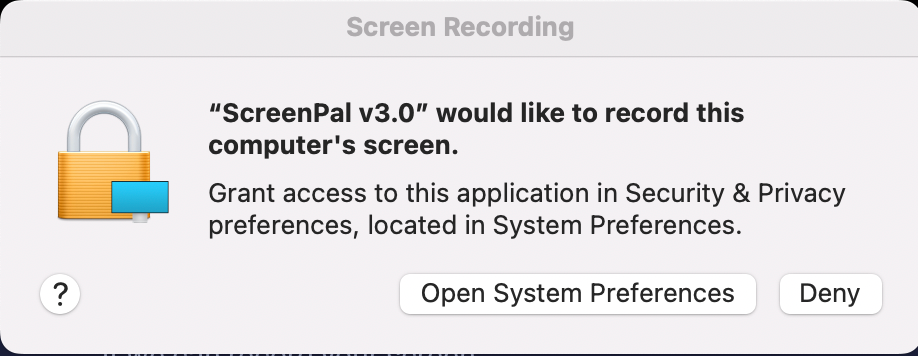
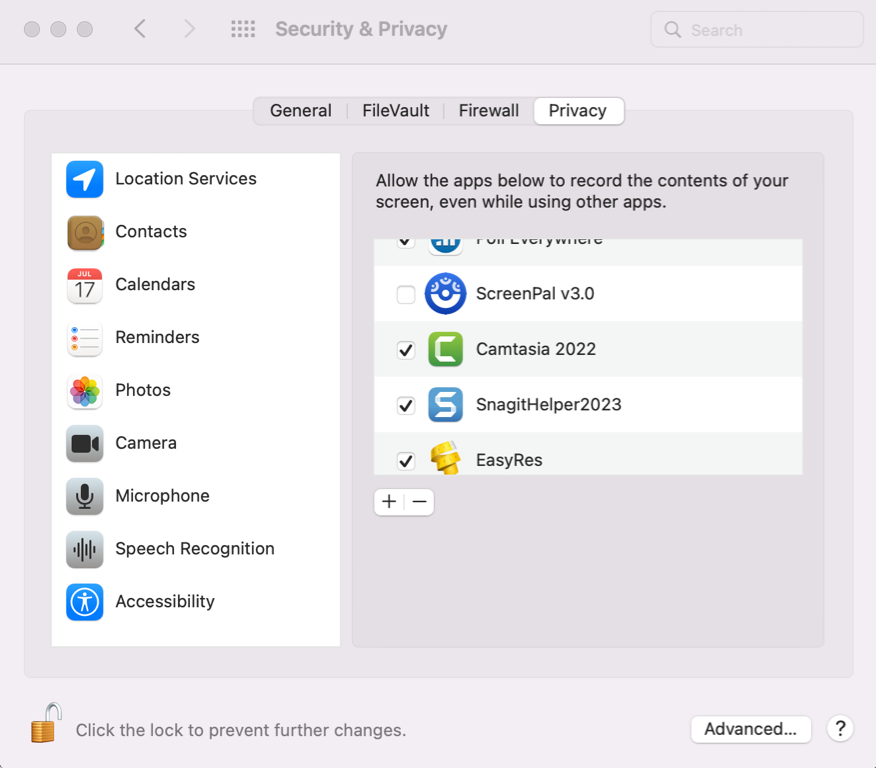
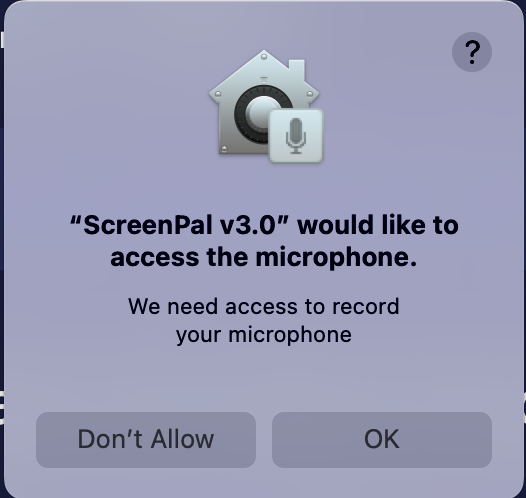
- You will then get a series of permission requests that you need to agree to in order to allow ScreenPal to record your screen, access your microphone, and access your camera.
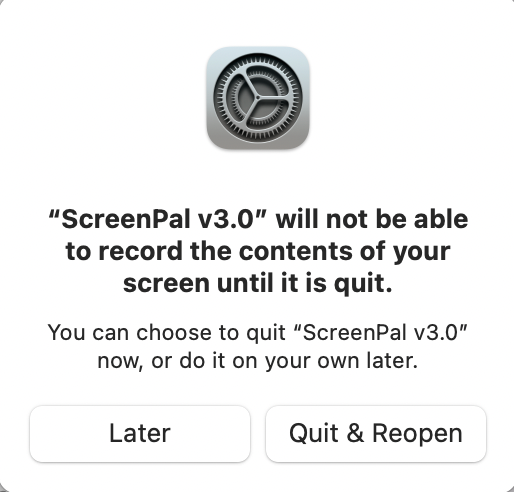
These are security settings in System Preferences (System Settings on MacOS Ventura). Allow each one by entering your device password and ticking the box for ScreenPal. You may be prompted to allow ScreenPal to Quit and re-open during this process.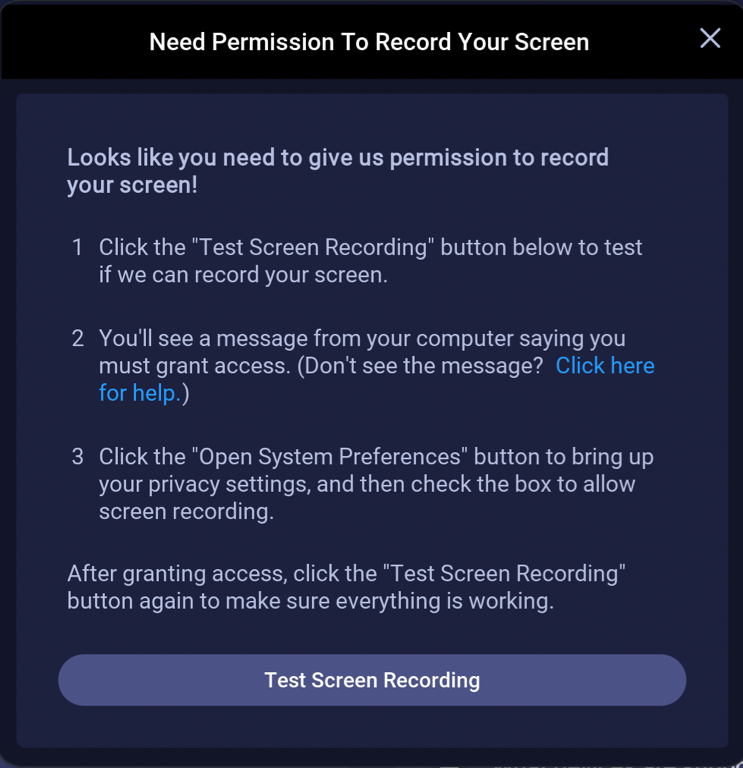
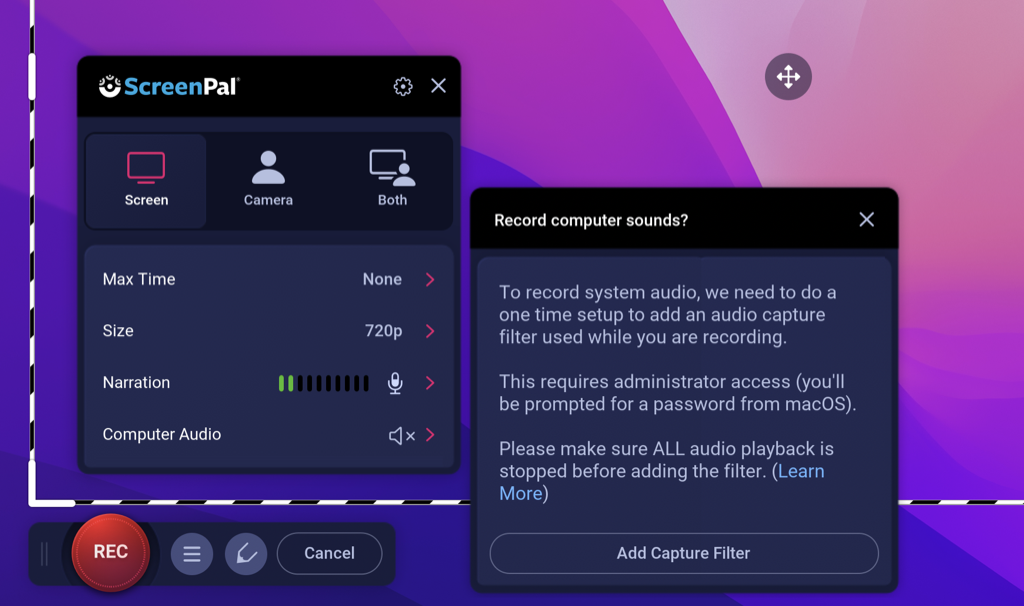
- ScreenPal will launch. If you want to record Computer System Audio you will be prompted to install a small application in order to do so.
To begin recording, move to the Recording Your Screen section below.
Back to top of pageRenewing a ScreenPal License
If you already have ScreenPal installed, all you need to do is enter the new password at https://screenpal.com/langara-edtech. Then just launch the recorder from the browser.
If you launch the ScreenPal desktop app without first logging in at https://screenpal.com/langara-edtech, your app will revert to the free version.
If you’re using ScreenPal on a new device or have uninstalled the app, follow the ScreenPal Setup instructions for MacOS or Windows above.
Back to top of pageRecording Your Screen
- Open the file(s) and/or application(s) that you want to record
- Open ScreenPal by clicking on the icon on the taskbar, start menu, or dock, depending on your operating system (if you’re on MacOS, and haven’t already done so, you may need to enable specific MacOS device permissions in order to launch)
- Click on the red Record button in the top right corner of the window

- Click on the Start Recorder button
- The recorder will default to full screen recording. You can also open the Size menu, and choose different preset sizes, or set a specific set of dimensions
- With any of these other options, a dotted box will appear on your screen. This is your recording area. You can click on the window or application you wish to record to make it the active window, and then adjust the recording box to fit the area you want to record by dragging the sides or corners
- Before you start recording, review the recording options and select the ones that will suit your recording needs.
The options include:- Choosing what you want to record with:
- Screen – which will record only the computer screen
- Webcam – which record a video of you
- Both – which will record the computer screen with an inset video of you
- Choosing how long you want to record (Max Time):
- No Max – which will record for an unlimited amount of time
- 00:15:00 – which will record a maximum of 15 minutes
- 00:30:00 – which will record a maximum of 30 minutes
- 00:45:00 – which will record a maximum of 45 minutes
- 01:00:00 – which will record a maximum of 60 minutes
- Choosing the size of your recording area (Size):
- 480p
- 720p
- Active Window – which will record the window your cursor is active in
- Fullscreen (1080p) – which will record your entire screen
- Select the microphone you want to record with. ScreenPal will automatically choose your computer’s default microphone. If you want to use a different one, select it by clicking on the Narration menu, and selecting your microphone from the list.
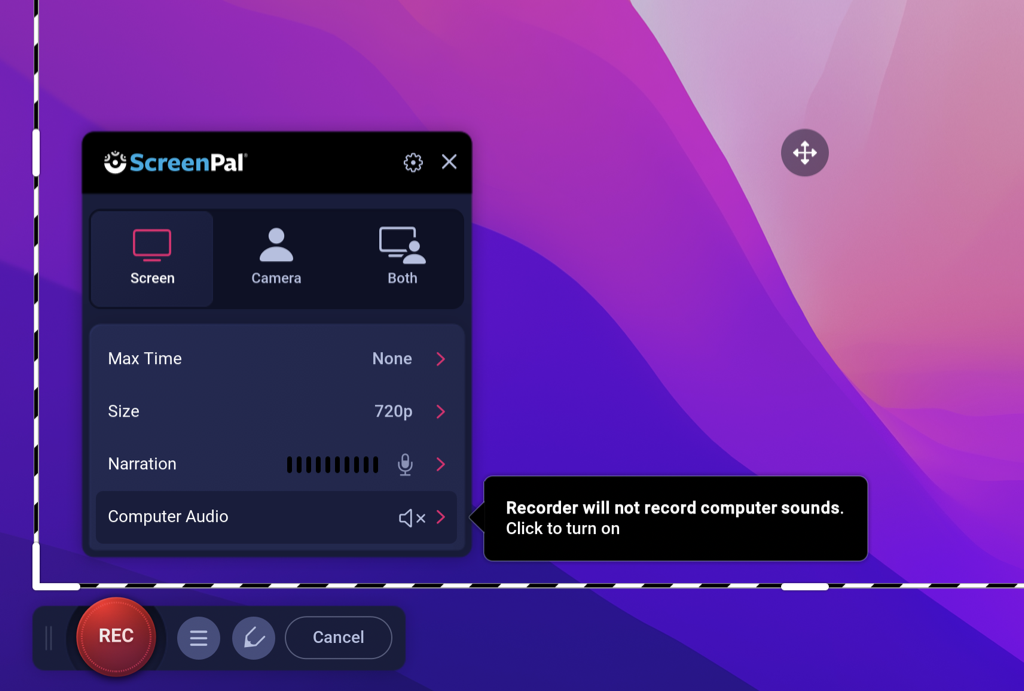
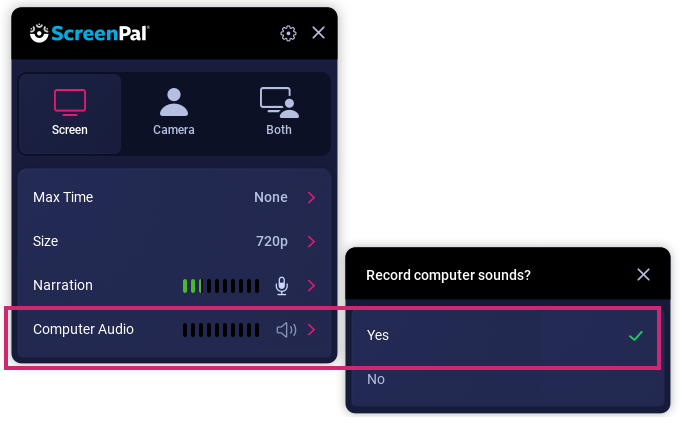
- Determine if you want computer sounds, including keyboard and mouse clicks, to be included in your recording. This is turned off by default. Click on the Computer Audio menu and select Yes if you wish to activate this option. (This may require additional permissions or plugins on MacOS.)
- Choose whether you want Draw and Zoom controls available to you at the top of the screen while recording

- Choosing what you want to record with:
- To begin recording, click on the red Rec button in the bottom right corner. ScreenPal will countdown from ‘3’ and then start recording.

- If you’re recording your full screen, then you will see a timer at the bottom of the screen while recording, as well as a Pause button
If you record an area smaller than your full screen, you will see a few more options while recording. You can see the recording timer (yellow). Here you can also pause (green), restart, or stop the recording, and you can also draw on the screen by clicking on the pencil icon (purple).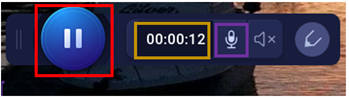
While paused, you can preview various parts of your recording, and seek back and forth between established pause points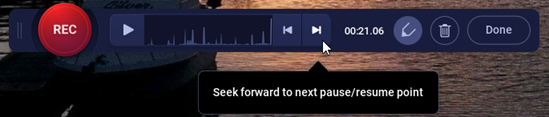
- When you are finished recording, click the Pause button, and then click the Done button.

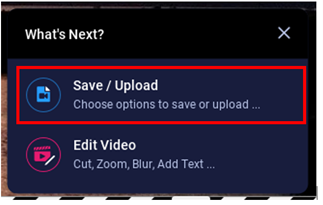
- A “What’s next?” menu will appear; choose Save/Upload to continue to save your capture (you can also choose Edit to make changes to your recording before saving).
- A Preview window will appear. Click on the Play button in the bottom left corner of the window to view your video. An Options menu will appear on the bottom right side of the screen that will allow you to save, edit, redo, or delete your video. For other options, click the menu in the top right corner.
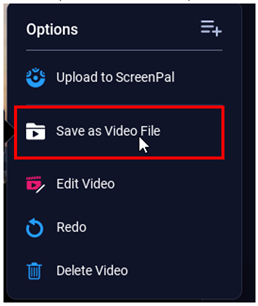
- To save the file on your computer, click Save as Video File from the Options menu.
- A new menu will open (Video File). From here, choose the type of video format you want (the recommended file type is MP4).
- Give your file a name (Filename).
- Choose where you want to save your video (Folder).
- Click Publish.
- A dialog box showing you the progress of your file will appear. When your file has finished saving, click OK.
When your file has finished saving, you will be returned to the ScreenPal main screen. If you wish to record another screen capture, click the Record button to begin again.
Back to top of pageSharing Your Video/Using Video in a Course
See the Sharing Media instructions for help on uploading your video to Kaltura MediaSpace and sharing videos in your course.
Fix: Recorder Has Max Time of 15 Minutes
If you see a message reading “Max Time of 15 minutes,” it’s probably because your Team Education session has ended and you are now considered a Free User. To resolve this:
- Open the ScreenPal app menu
- macOS: In the menu bar at the top of the screen, select ScreenPal
- Windows: In the Windows taskbar at the bottom of the screen, select ScreenPal . You may need to select ^ (Show hidden icons) to find it
- In the upper right of the ScreenPal menu, select the account initials (E.g., “ET” for EdTech)
- In the menu that appears, select Quit
- Go to the Downloading ScreenPal section of these instructions and complete the steps there
Fix: Unable to Start Recording on MacOS
Recording issues are usually due to the application not having been granted the necessary device permissions. Check that you’ve enabled all relevant permissions in your system settings.
Back to top of page