If you wish to share your course content with another instructor, or if another instructor is willing to share their content with you, this can be easily accomplished with Brightspace’s Import/Export/Copy Components tool. A link to the Import/Export/Copy Components tool can be found on the Course Home page of your Brightspace course.
A Two Step Process
There are two steps in the process:
- The instructor with content to share “exports” their course content. The process creates a .zip file which can be shared with another instructor.
- The instructor who wishes to add the content to their course “imports” the content from the .zip file into their course offering.
Alternately, you can add the instructor to your course which would allow them to copy content directly into their course from yours. Keep in mind that this allows the instructor full access to your course. Instructions for adding another instructor to your course can be found here.
Exporting Course Content to Share
- Login to the course with content that you wish to share and go to Edit Course on the navigation bar.
- From the Site Resources area click on “Import/Export/Copy Components”.
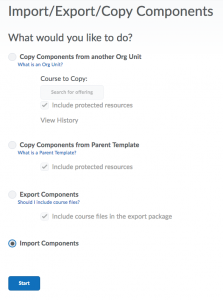
- You will be asked what you would like to do. Select “Export Components”. Be sure to select “Include Course Files in the export package”. Click Start.
- Select which components you wish to export. Click Continue.
- You will be asked to confirm your selections. If you are happy with your selections, click Continue. (If you are not satisfied, click Go Back and repeat step 4.)
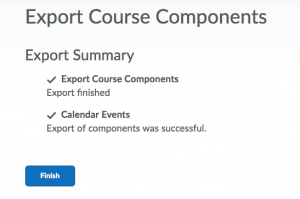
- You will see the “Export Course Components” progress page. When the Export is complete, click Finish to continue.
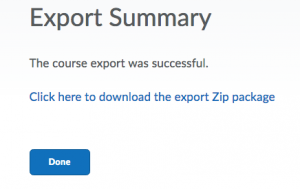
- You will now see the Export Summary page. Click the “Click here to download the export Zip package” link.Important Note: You must click on the link to download the Zip package at this point as otherwise the file will not be saved anywhere and you will have to redo the process.
- Follow the onscreen instructions to Save the File. Be sure to save it to a location you can easily find and from which you can provide a copy for the person with whom you are sharing. You may wish to share the file by copying it to a jump drive, shared department drive, etc. Note: you cannot use email to share files of this type.
You have now exported a copy of your course content for sharing. The next steps must be completed by the instructor who will be using your content.
Importing Shared Content
- From the Course to which you want to add the shared content, click on “Import/Export/Copy Components“.
- Select Import Components. Click on the Browse button to select the .zip file with the shared content and click Start.
- The process will take a few minutes. After “Preprocessing” confirms “Reading the Package” click Continue.
- In the Select Course Material dialog, you will be asked to specify some options.
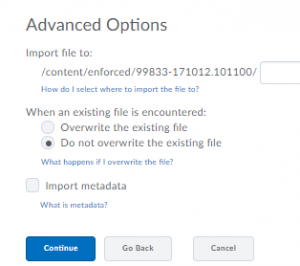
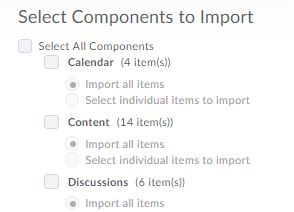
- It is recommended that you leave as is the defaults for “Import File to:” and “Existing file” options.
- Unless you know there are specific course components which you do not wish to use, it is recommended to “Select All Components”. You can delete unwanted items later if necessary.
- Click Continue.
- You will be asked to Confirm Import Selections. If you are satisfied with your selections, click Continue. Otherwise, click Go Back and repeat step 4, making new selections.
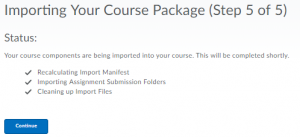
- You will see an “Importing Course Material” progress screen. when the process is complete, click Finish.
- The Import Summary screen will provide details of what was successfully imported. If the process was successful, you can return to your course homepage and begin editing your course. If the process was not successful, you can try again, or contact EdTech for assistance.
