To create a new Announcement:
- Click on New Announcement.
- Add A Headline and Content.
If you want to add the student’s first name on the content, you can add the tag {Firstname}. Students will see their first name on the announcement.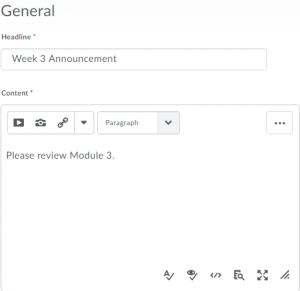
- To set up the expiry dates for the Announcement, Set a Start date and Time and a End date and Time to specify the duration of visibility of the Announcements.
- If you want to have Start date, check the box Always show Start date.

- Please make sure you always have an End date. To set an end date, check the box Remove Announcement based on the end date. P.S: If there is no end date specified, the announcement will be visible to the students until the end of the semester. Also, if you are planning to use the announcement in the future courses, to avoid all the Announcement to be visible as you copy the course over, setting an End date will be more helpful.
- Then click Publish.
Turnitin recently introduced an AI tool designed to assist instructors in detecting AI-generated content in student submissions. This tool potentially analyzes writing styles and may detect anomalies that could possibly indicate the use of generative AI. However, while this technology represents a significant step forward, caution is advised in its application. It’s important to recognize that the tool is not infallible and may not catch every instance of AI-generated content. Instructors should not rely on the AI tool to detect AI generated content, but rather, use it as one of several strategies in a comprehensive approach to uphold academic standards and encourage genuine student learning and creativity.
